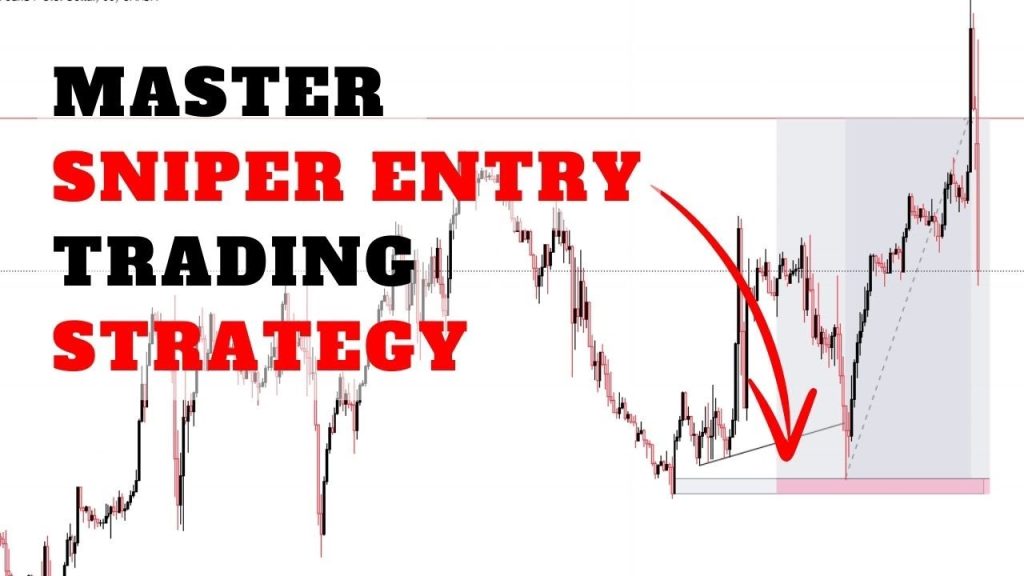
“Sniper entries” are precise trade entries taken at high-probability locations, with small stops and asymmetric reward. The secret isn’t magic indicators—it’s structured analysis, confluence, and disciplined risk. Below is a clean, repeatable process you can use daily.
TL;DR Sniper Checklist
1.Top-down bias (HTF trend + key levels)
2.Map liquidity & zones (where stops are, where price may react)
3.Wait for price to come to your area (don’t chase)
4.Drop to LTF for a structure shift/trigger
5.Enter with tight, logical invalidation and planned targets
6.Manage the trade (scale/lock in) and journal

Step 1 — Define Your Playing Field (Session, Pair, Conditions)
•Pick pairs you know (e.g., EUR/USD, GBP/USD, USD/JPY) and the session you trade (London or NY).
•Know the day’s context: news calendar, prior day high/low (PDH/PDL), weekly high/low (WH/WL).
•Decide up front: Will you trade trend continuation or reversal mean-reversion today?
Pro tip: If the day is news-heavy or choppy (inside day), size down or sit out.
Step 2 — Top-Down Bias (D1 → H4 → H1 → M15)
Open higher timeframes first; mark structure and levels:
•Trend: Higher highs/higher lows (bullish) or lower highs/lower lows (bearish)?
•Key levels: HTF supply/demand, daily/weekly open, PDH/PDL, round numbers (e.g., 1.1000).
•Trendlines: Draw clean HTF trendlines that connect meaningful swing points (no forcing).
Outcome: A directional bias (bullish, bearish, or neutral) and a short list of price areas to watch.

Step 3 — Map Liquidity & Reaction Zones
Sniper entries often occur where other traders’ stops sit.
•Liquidity pools: Equal highs/lows, prior swing highs/lows, Asian range high/low.
•Gaps/inefficiency: Imbalances (fair value gaps) where price often rebalances.
•Supply/Demand: Consolidation before impulsive moves = potential decision zones.
Goal: Box the zones where you’ll do business. If price isn’t at your zone, you do nothing.
Step 4 — Build Confluence (Trendline + Fibonacci + Level)
Now stack reasons to act at a specific price:
•Trendline touch/retest (from Step 2).
•Fibonacci retracement of the last impulse (draw low → high in uptrends, high → low in downtrends).
•Common reaction levels: 38.2%, 50%, 61.8%, 78.6%.
•Key level overlap: PDH/PDL, round number, supply/demand, or a visible liquidity pool.
More confluence = higher quality. Fewer, better trades.
⸻
Step 5 — Wait for Price to Come to You
Patience is a weapon. Let price tap the zone. No touch, no trade.
Avoid: Entering “early” because you’re afraid to miss the move.
Step 6 — Drop to Lower Timeframes for the Trigger (M5 → M1)
At your zone, look for a shift in structure and a price-action trigger:
•Break of structure (BOS) / Change of character (ChoCH) in your direction.
•Candlestick trigger: engulfing, pin bar, or strong rejection with close away from the zone.
•Optional confirmation: a quick rejection/flip of a minor LTF level after BOS.
Entry styles:
•Limit: at your zone if you have strong confluence and expect a sharp reaction.
•Stop order: above/below the trigger candle to confirm momentum.
Step 7 — Place Logical Stops & Targets
•Stop-loss: beyond the invalidating level (e.g., below the swing low or past the 78.6% retracement in an uptrend).
•Targets: next liquidity pools, PDH/PDL, opposing supply/demand, or Fib extensions (1.0 / 1.272 / 1.618).
•Aim for minimum 1:2 to 1:3 R:R on your base plan.
Example (uptrend):
Swing A = 1.1000 → B = 1.1100 (100 pips up).
•61.8% retrace ≈ 1.10382
•50% retrace = 1.10500
•1.272 extension ≈ 1.12272
•1.618 extension ≈ 1.12618
Step 8 — Manage the Trade Like a Pro
•At +1R: consider partials (e.g., 50%) and move stop to breakeven
after a clean LTF BOS.
•Trail under swing lows (longs) or above swing highs (shorts) if trend is strong.
•News spike? Either flatten or lock in depending on your plan (decide before entry).
Step 9 — Journal & Iterate (The Edge Is in Refinement)
Log screenshots and notes:
•Bias & zone, trigger used, confluence count.
•Entry, stop, targets, R:R, best MFE (max favorable excursion).
•What you did well / what to fix.
A month of honest journaling will transform your accuracy more than any indicator.
A Ready-Made “Sniper” Playbook (Intraday)
Setup: Trendline Pullback + Fibonacci + Key Level
Works best on: M15 bias with M5/M1 trigger
1.HTF Bias: On H1/M15, price in uptrend (HH/HL)
2.Mark Zone: Trendline from prior two HLs. PDH (prior day’s high) sits near 1.1050 round number
3.Fib: Draw A 1.1000 → B 1.1100; 50–61.8% zone sits 1.1050–1.1038
4.Confluence: Trendline + 50/61.8% + round number + PDH
5.Wait: Price pulls back into 1.1050–1.1038
6.Trigger: On M1/M5, bearish micro-structure breaks upward (ChoCH), then a bullish engulfing closes back above 1.1050
7.Entry: Buy stop a few points above the trigger high, SL a few points below the swing low (or under 78.6% ≈ 1.1021)
8.Targets: First partial at 1R, runner toward 1.1227 (1.272) or the next clear liquidity high
9.Manage: Move stop to BE after M1/M5 BOS; trail under HLs if momentum is clean
Common Mistakes to Avoid
•Forcing trades away from your zones (FOMO).
•Inconsistent stops (placing SL at random points, not behind invalidation).
•Too many filters (paralysis). Keep confluence crisp: Structure + Zone + Trigger.
•Oversizing because a setup “looks perfect.” Keep risk constant (e.g., 0.5–1% per trade).

Risk & Money Management (Non-Negotiables)
•Fixed fractional risk per trade (e.g., 0.5–1%).
•Daily max loss (e.g., −2%); once hit, stop trading.
•Only take trades that meet your written rules. No rule, no trade.
Your Reusable Sniper Template (Copy/Paste)
Bias: Bullish / Bearish
HTF Levels: WH/WL, PDH/PDL, Round #s, Supply/Demand
Confluence Zone: (trendline / Fib 38.2–61.8 / PDH/PDL / OB / FVG)
Trigger (LTF): BOS/ChoCH + (engulfing/pin/retest)
Entry Type: Limit / Stop
Stop Placement: Below/above invalidation:
Targets: Liquidity at ____ ; Extensions 1.0 / 1.272 / 1.618
Management: Partial at 1R; BE after BOS; trail under/over swings
Notes: What improved / what to tweak
Final Thoughts
Sniper entries come from systematic preparation, zone discipline, and clean triggers—not prediction. Do less, better. Let price come to you, execute the plan, and track results.
Disclaimer
This article is for educational purposes only and does not constitute financial advice. Trading forex and futures involves significant risk and may not be suitable for all investors. Always do your own research and consider consulting a licensed financial professional before making trading decisions.


